


3 Ways to Get Started with CloudPort – Create
In the first in this series, we used an iTunes JSON service and made a request via SOAPSonar while we capture the request and response using CloudPort’s proxy feature. This is great when your service is developed and available, but what if the service you need does not yet exist or needs to be altered?
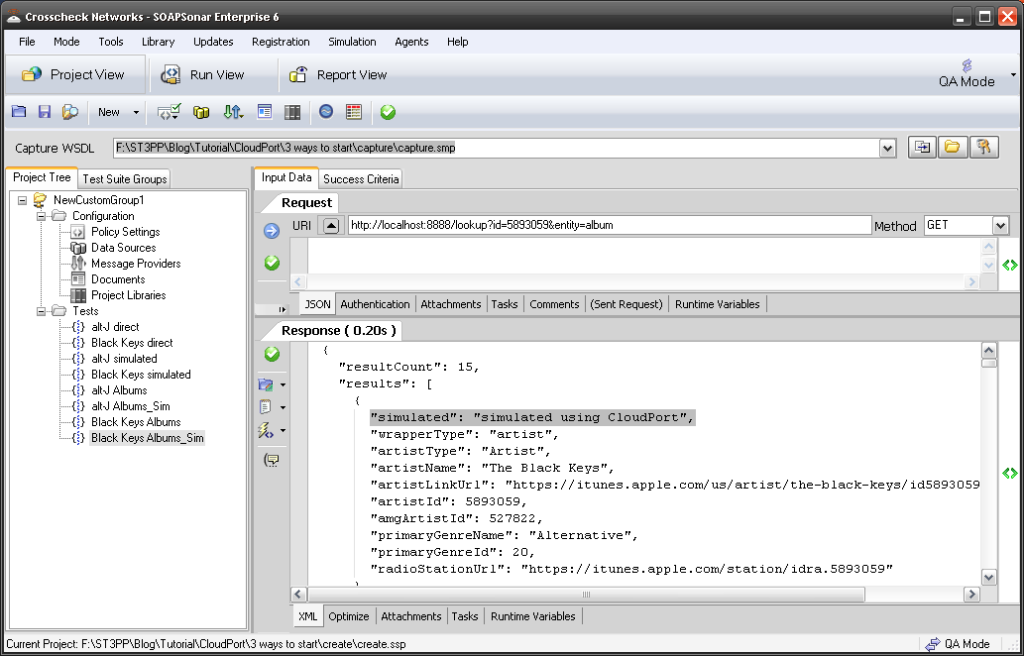
Since I am not developing a service, I am going to use SOAPSonar to make a request of the real service and get a response. Then I will simply copy this response and paste it into CloudPort (with a small edit) and set up the right listener policies.
1. We going to do a second iTunes JSON GET to list of albums for a given artist. Starting with SOAPSonar (you can use the same or start a new project) lets Create Two New JSON Tests. Lets rename the first alt-J albums and second Black Keys albums. The queries are
- http://itunes.apple.com/lookup?id=558262494&entity=album and method is GET
- http://itunes.apple.com/lookup?id= 5893059&entity=album and method is GET
If you wondering were this came from, I read the service description document and too the ID value from the artistic response from the previously used search service. Commit and Send both. Now we have the requests and responses.

2. Open up CloudPort, you can create a new, or use the previous. Right-click on Tests and create 2 New JSON Simulators. Rename them alt-J Albums and Black Keys Albums.
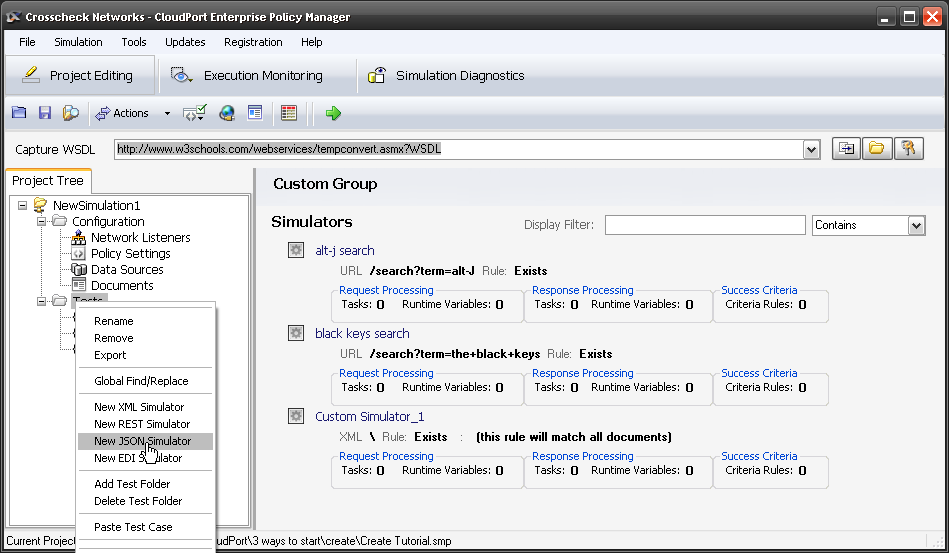
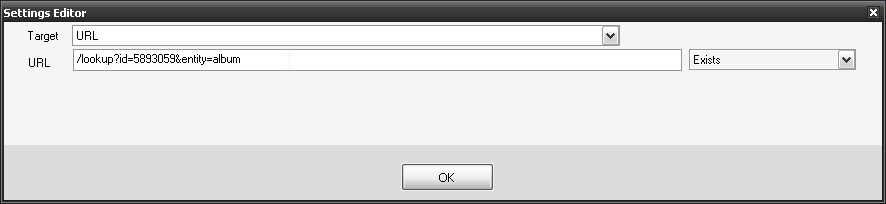
3. Now we need to establish the end points and queries or listeners. Select Add manual Rule and set the listener Target to URL and the paste the /lookup?id=558262494&entity=album in as the URL. Ensure its set to Exists. Once you created the new rule, delete the old catch all rule. If you wondering were this came from, its everything we sent as a request after the http://itunes.apple.com/

4. Now do the same for Black Keys setting the target URL this time to match /lookup?id= 5893059&entity=album and Exists. Notice there are a number of ways to identify a incoming request to and hence trigger a response.
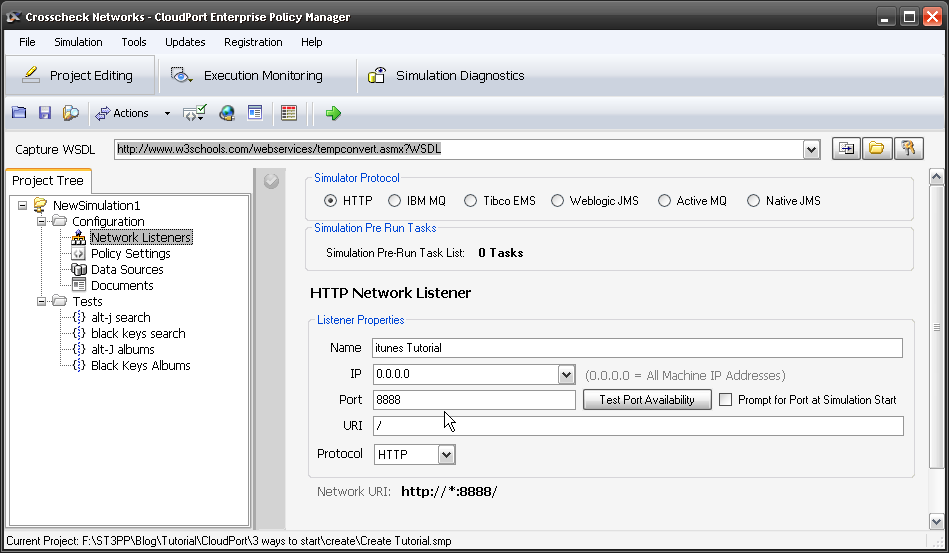
5. If you are using a new project, you need to also set the Network Listeners. If you using the same project as in the capture tutorial this should exist. Make sure yours looks as below with Name, IP, Port 8888 and URI.
6. Now we need to set up the responses. There are two parts to each response the header and the body. Go back to SOAPSonar real query and copy and past the entire response header and body into CloudPort Response tab. Then commit.
7. Do the same for the second Black Keys service for both header and response.
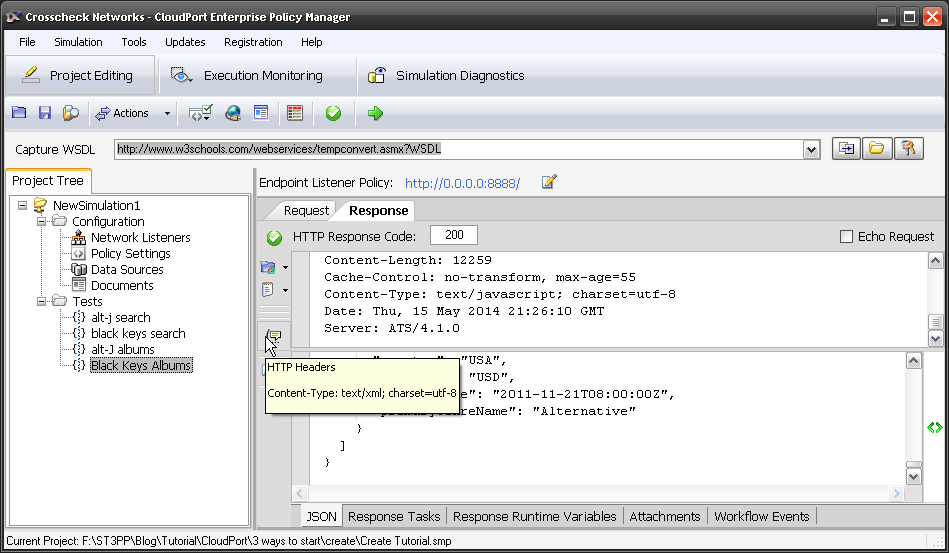
8. Now we could edit these, adding albums, changing structure or renaming things, but the bands may not be happy. So all I will add is a small change above wrapperType
“simulated”: “simulated using CloudPort”, (make sure you have the , for correct JSON notation)
to both.
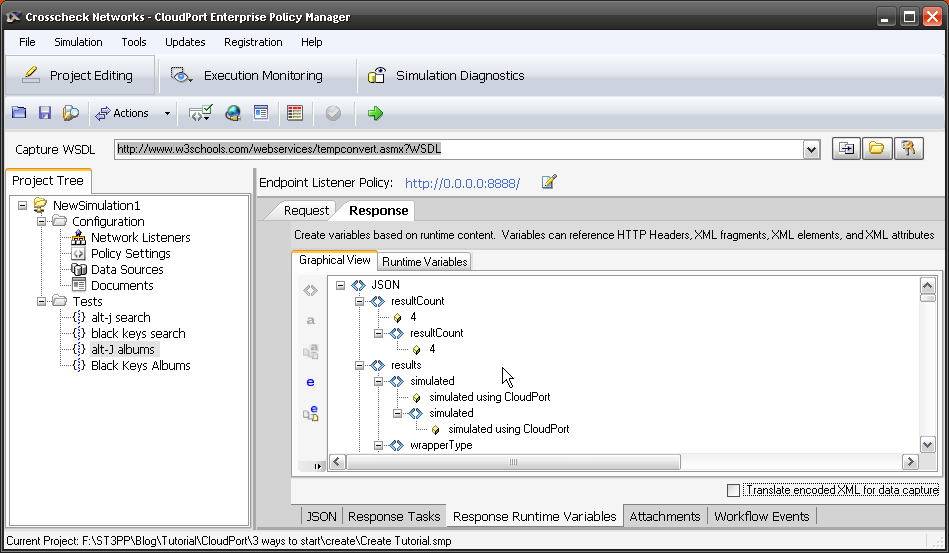
9. Notice if you look at the Response Runtime Variables tab, if you response is correctly JSON formatted the graphical view will populate. If its is not, the response will still be sent, but you will not be able to use variables and the client may not understand your response.
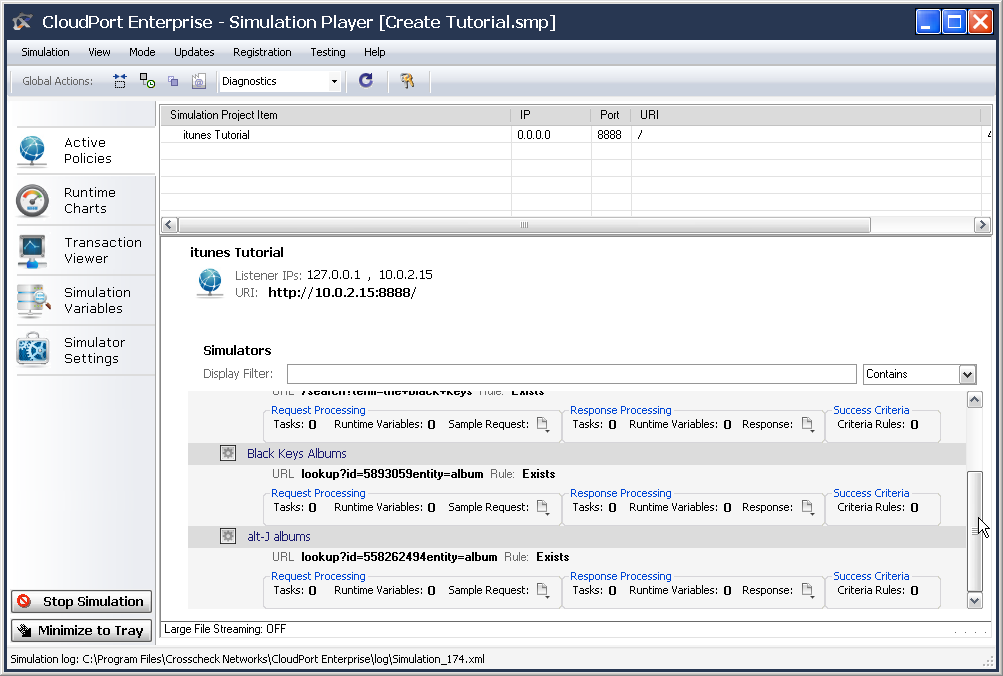
10. Lets test our newly created services. Launch the Simulation Player, by selecting the green arrow icon. Notice your listener URI and we now have 4 simulated services.
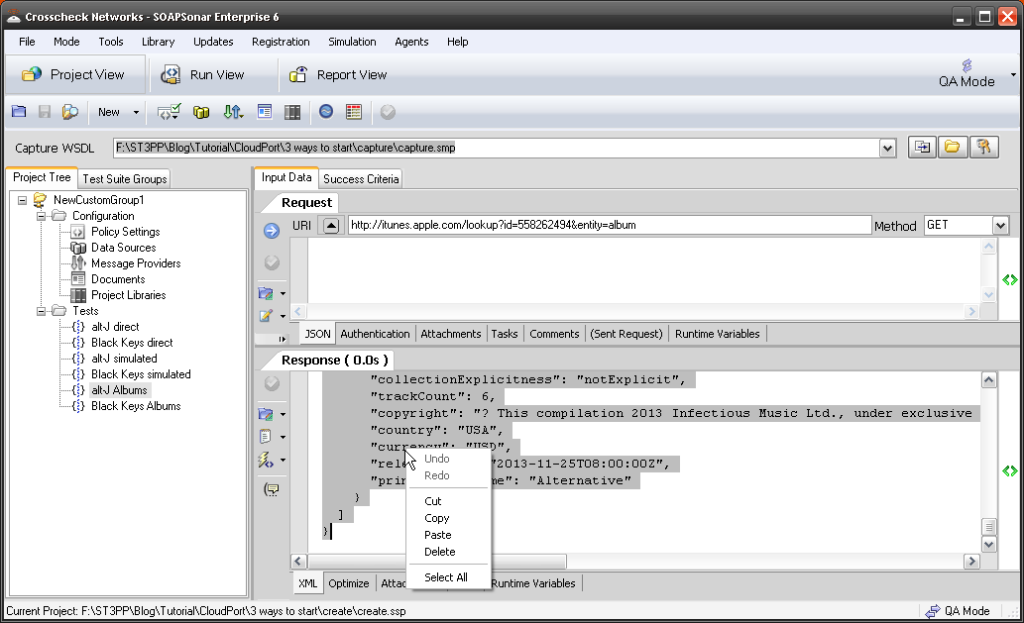
11. Now clone the two real SOAPSonar services and change the requests to
- http://127.1.1.1:8888/lookup?id=558262494&entity=album and/or
- http://localhost:8888/lookup?id= 5893059&entity=album
Do you see the changes we made?
In this example we added one line or possible variable, but we could just have well created an entire service from scratch. Here is the zipped create simulation.